
Repairing Interior Water Damage From Roof Leaks: A Step-by-Step Guide
Discovering a water stain spreading across your ceiling after a heavy storm is a stressful moment for any homeowner. That unsightly brown ring isn't just a cosmetic issue; it's a clear indicator that water has breached your home's exterior defenses and is actively compromising your interior spaces. Left untreated, even a minor drip can lead to significant structural issues, deteriorated insulation, and hazardous mold growth within your walls.
For homeowners across DuPage County, the changing seasons bring a unique set of weather challenges. From intense summer rainstorms to the heavy snowfall and ice dams typical of a harsh Chicago winter, your property's exterior is constantly put to the test. When those defenses fail, knowing how to properly address both the exterior breach and the resulting interior damage is critical to protecting your home's equity and safety.
In this guide, we will walk you through the essential steps for navigating interior water damage, from securing the initial leak to restoring your living space so it looks as good as new.
Stop the Source Before Fixing the Surface
The most important rule of fixing a ceiling water stain from a roof leak is simple: never repair the interior until the exterior is completely sealed. It can be tempting to simply paint over a water stain to make the room look nice again, but if the underlying leak remains active, the water will simply ruin your new drywall and paint all over again.
Before you touch the ceiling, you need a thorough inspection of your roofing system. Water is notoriously tricky; it often enters through a compromised shingle, cracked flashing, or degraded pipe boot, and then travels along rafters before finally dripping onto your ceiling. Because of this, the wet spot in your living room might be several feet away from the actual hole in the roof.
Professional contractors utilize advanced techniques, including drone-assisted inspections, to safely and accurately pinpoint the exact source of the moisture without causing further damage to the structure. Whether you need a few replacement shingles or a more comprehensive roof repair to fix wind and hail damage, securing the building envelope is the foundational step in any restoration project. By relying on established local professionals rather than transient storm chasers who knock on doors after a weather event, you ensure that the repair is backed by proper warranties and deep community accountability.
How to Repair Drywall Water Damage from a Leak
Once the roof is watertight, it is time to turn your attention indoors. When drywall gets soaked, it loses its structural integrity. It becomes soft, crumbly, and highly susceptible to mold. A step by step roof leak interior repair requires patience and the right tools.
First, the affected area must be completely dried out. If the drywall is sagging or feels spongy to the touch, it cannot be salvaged and must be removed. Lay down drop cloths to protect your floors and furniture. Using a drywall saw, carefully cut out the damaged section. It is highly recommended to cut a square or rectangular shape that extends slightly past the water-stained area, as this makes fitting the replacement piece much easier. Be extremely cautious of hidden electrical wires or plumbing pipes behind the ceiling.
After removing the ruined material, inspect the exposed insulation and wood framing. Any wet fiberglass insulation should be discarded and replaced, as it loses its insulating value when wet and harbors mold. Allow the wooden joists to air out completely, utilizing heavy-duty fans and dehumidifiers if necessary.
When the cavity is bone dry, you can begin the drywall repair & installation process. Measure the opening and cut a new piece of drywall of the exact same thickness. Secure it to the ceiling joists with drywall screws, ensuring the new piece sits flush with the existing ceiling.
Restoring Drywall and Paint After Roof Leaks
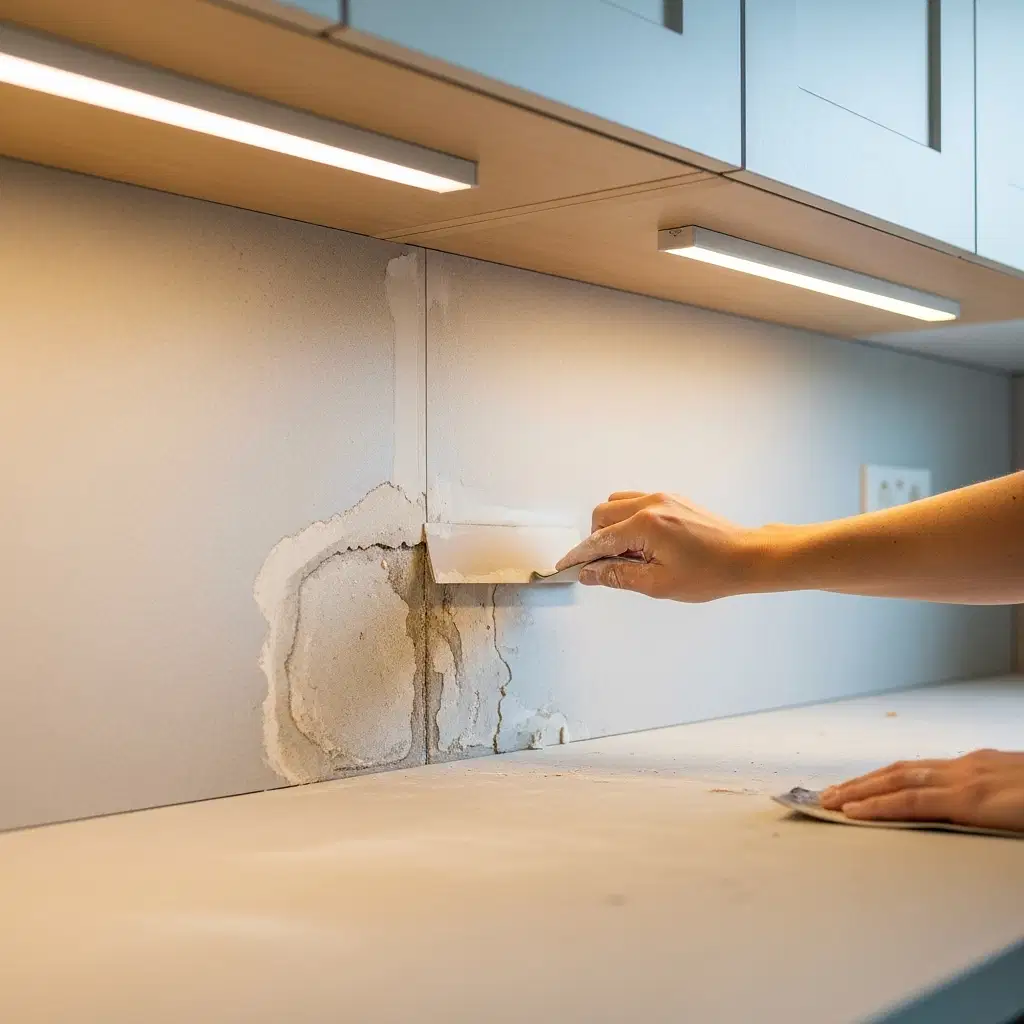
With the new drywall firmly in place, the meticulous work of finishing begins. The seams where the new drywall meets the old ceiling must be taped and covered with joint compound, commonly known as mud. This usually requires three distinct coats of mud. Each layer must be allowed to dry completely before being carefully sanded down to create a perfectly smooth, invisible transition.
Matching the ceiling texture can be one of the most challenging aspects of restoring drywall and paint after roof leaks. Whether your ceiling is perfectly smooth, lightly textured, or features a classic popcorn finish, blending the patched area into the surrounding surface requires significant skill and experience.
Once the drywall finishing is complete, you cannot simply apply standard ceiling paint over the area. Water stains are notorious for bleeding through standard latex paint, no matter how many coats you apply. The entire patched and stained area must first be coated with a high-quality, stain-blocking primer.
After the primer has cured, it is time for the final coat of paint. Because paint colors fade and change slightly over time due to UV exposure and age, simply painting the patched square will usually result in a noticeable mismatched spot. For a truly flawless finish, professional interior painting usually involves painting the entire ceiling from corner to corner so the repaired area disappears completely.
Navigating Storm Damage and Insurance Claims
If the interior water damage was caused by a sudden weather event, such as a severe windstorm or localized hail, the repairs might be covered by your homeowners insurance policy. Managing a claim can feel overwhelming, especially when trying to coordinate multiple trades for the roof, drywall, and painting.
Thorough documentation is vital. Taking clear photos of the ceiling damage before any demolition occurs, as well as keeping records of the roof inspection, will heavily support your claim. Working with a contractor who understands local building codes and the intricacies of the insurance process can alleviate a tremendous amount of stress. They can provide detailed, itemized estimates to your insurance adjuster, ensuring that both the exterior roof replacement and the interior drywall restoration are fully accounted for in your settlement.
Protect Your Home's Value Inside and Out
Dealing with water intrusion is never pleasant, but acting quickly and following the proper repair sequence will minimize the disruption to your life and prevent secondary damage like mold or wood rot. From securing the shingles to rolling the final coat of ceiling paint, every step requires precision and care.
If you are dealing with a compromised roof and interior water damage in Oak Brook or the surrounding communities, you need a contractor who can handle the entire scope of the project seamlessly. Relying on a single, trusted local team ensures consistent communication and quality craftsmanship across every phase of the repair. Reach out and contact us at Lighthouse Property Services today for a comprehensive inspection, and let our experts restore the comfort, safety, and beauty of your home.